Tips for Elevating Your Product Photography Game
- peter47783
- Oct 24, 2025
- 4 min read
Product photography is a crucial element in showcasing your products effectively. Whether you are selling online or creating marketing materials, high-quality images can make a significant difference in attracting customers and boosting sales. Improving your product photography skills does not require expensive equipment or professional training. With the right techniques and a bit of creativity, you can elevate your product images to a professional level.
Mastering the Basics of Product Photography
Before diving into advanced techniques, it’s essential to understand the fundamentals of product photography. These basics will form the foundation for all your future shoots.
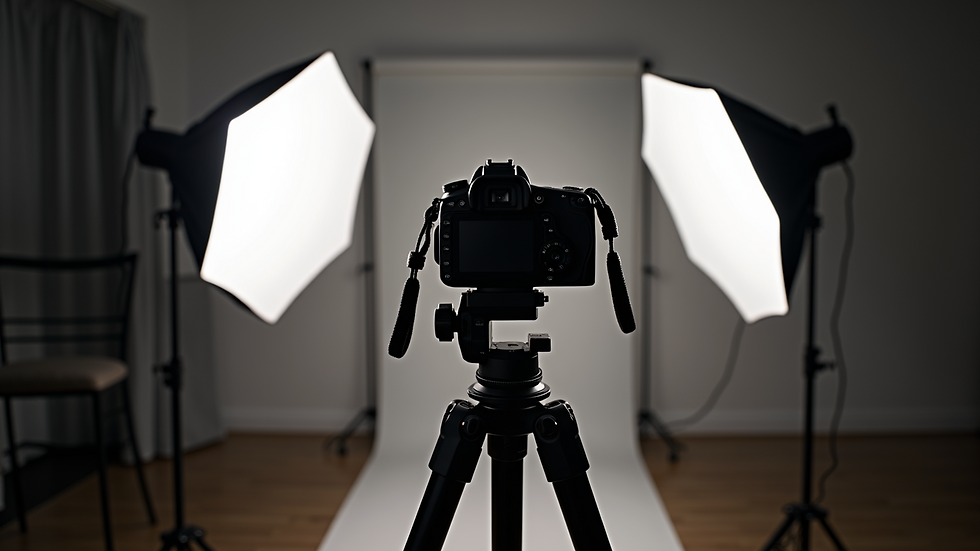
Lighting: Natural light is often the best choice for product photography. Shoot near a large window or outdoors on a cloudy day to avoid harsh shadows. If natural light is unavailable, use softbox lights or diffusers to create even lighting.
Background: Use a clean, uncluttered background to keep the focus on the product. White or neutral-colored backdrops work well for most items.
Camera Settings: Use a low ISO (100-200) to reduce noise and a small aperture (f/8 to f/16) for greater depth of field, ensuring the entire product is in focus.
Tripod: A tripod stabilizes your camera, preventing blur and allowing you to compose your shot carefully.
By mastering these basics, you will create clear, sharp images that highlight your product’s features.
Enhancing Your Product Photography with Composition and Styling
Composition and styling are key to making your product images stand out. Thoughtful arrangement and presentation can tell a story and evoke emotions that connect with your audience.
Rule of Thirds: Divide your frame into a 3x3 grid and place the product along these lines or intersections to create a balanced and engaging composition.
Angles: Experiment with different angles to find the most flattering view of your product. Eye-level shots work well for many items, but overhead or close-up shots can highlight details.
Props and Context: Use props sparingly to complement the product without distracting from it. For example, a coffee cup next to a coffee maker or fresh herbs beside a kitchen gadget.
Color Coordination: Choose props and backgrounds that enhance the product’s colors. Avoid clashing hues that can confuse the viewer.
Incorporating these elements will help you create visually appealing images that capture attention and communicate your product’s value.

Using Post-Processing to Perfect Your Images
Post-processing is an essential step in product photography. Editing your photos can correct imperfections, enhance colors, and ensure consistency across your product catalog.
Basic Adjustments: Start with exposure, contrast, and white balance corrections to make your image look natural and vibrant.
Background Cleanup: Use tools to remove dust, scratches, or unwanted shadows from the background.
Color Correction: Adjust saturation and hue to match the product’s true colors.
Sharpening: Apply sharpening carefully to enhance details without creating noise.
Batch Editing: For multiple products, use batch editing features to maintain a consistent look and save time.
Popular editing software includes Adobe Lightroom and Photoshop, but there are also free options like GIMP and Canva that can handle basic edits effectively.

Tips for Shooting Different Types of Products
Different products require different approaches to photography. Here are some tips tailored to common product categories:
Clothing and Accessories: Use a mannequin or model to show fit and scale. Pay attention to fabric texture and details like buttons or stitching.
Jewelry: Use macro lenses for close-ups and reflectors to highlight sparkle. A dark or neutral background often works best.
Food: Shoot in natural light and use props like plates and utensils to create an inviting scene. Capture steam or freshness to add appeal.
Electronics: Focus on sleekness and functionality. Use clean backgrounds and highlight buttons or screens clearly.
Understanding the unique needs of your product type will help you create images that resonate with your target audience.
Why Investing in Styled Product Photography Matters
Investing in styled product photography can elevate your brand’s image and increase customer trust. Professionally styled photos show your products in the best light, making them more desirable and easier to visualize in real life.
Styled product photography goes beyond simple snapshots. It involves careful planning, creative direction, and expert execution to produce images that tell a story and highlight the product’s benefits. This approach can differentiate your brand in a crowded market and drive higher engagement and sales.
Final Thoughts on Improving Your Product Photography
Improving your product photography is a continuous process that combines technical skills, creativity, and attention to detail. By mastering lighting, composition, and post-processing, you can create images that truly showcase your products. Remember to tailor your approach to the specific type of product and consider investing in professional styled product photography when possible.
With practice and patience, your product photos will not only look better but also help your business grow by attracting and converting more customers. Start experimenting today and watch your product photography game reach new heights.


Comments